How to 3D Print an Object
Now that I've told you about the short history of 3D printing, I will now show you how to 3D print an object from start to finish, with no prior knowledge necessary. This is done on my printer, a Creality Ender 5, so these instructions may vary depending on the printer you are using.
The very first thing you want to do is locate the SD/TF card. This card stores all the files for 3D printing.
On my printer it is located at the bottom right.
The very first thing you want to do is locate the SD/TF card. This card stores all the files for 3D printing.
On my printer it is located at the bottom right.

This red circle indicates where the SD card is on my printer. Once you've located it you can press it like a button and it should pop out. Then you can put it into the SD to USB converter.

Once you have done that you can take the cap off of the USB stick and plug it into your computer.

Once you have booted up your computer, you are going to want to obtain the 3D model that you want to print. This can be done in several ways. The method I will be using is a website with a large database of 3D files called Thingiverse, which is one of the websites I reviewed. Other methods include other websites, purchasing files from a site like Etsy, or designing your own objects with computer aided design, or CAD.
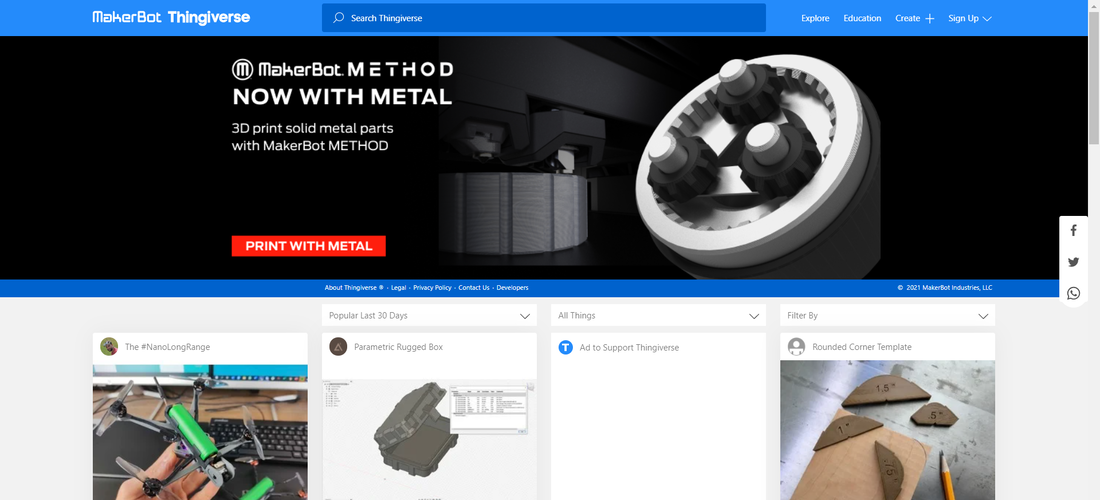
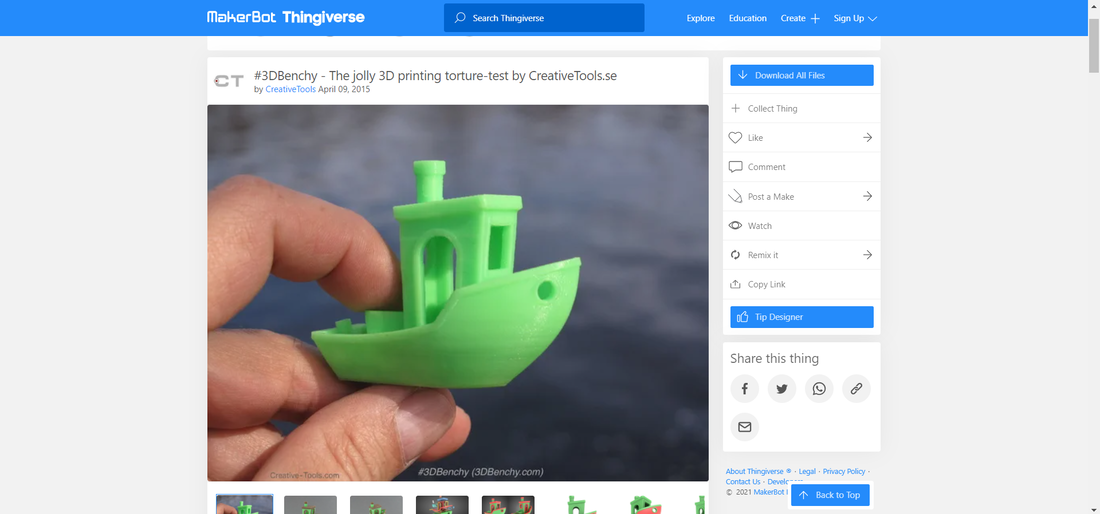
Above is how the website should look. I am going to be downloading a model known as the "3DBenchy". This is a small boat that functions as a benchmark test for your 3D printer. It is one of the most printed objects in all of 3D printing. It is important to note that I want to make sure that the file downloaded is a .STL file.
Once you have downloaded the .STL file, open up your slicing software of choice. Slicing software is a crucial step to 3D printing that "slices" the 3D model into layers that the 3D printer can understand and print into the desired plastic shape. My personal slicing software of choice is called Cura, which is a highly rated and free program, but there are other free and paid options available.
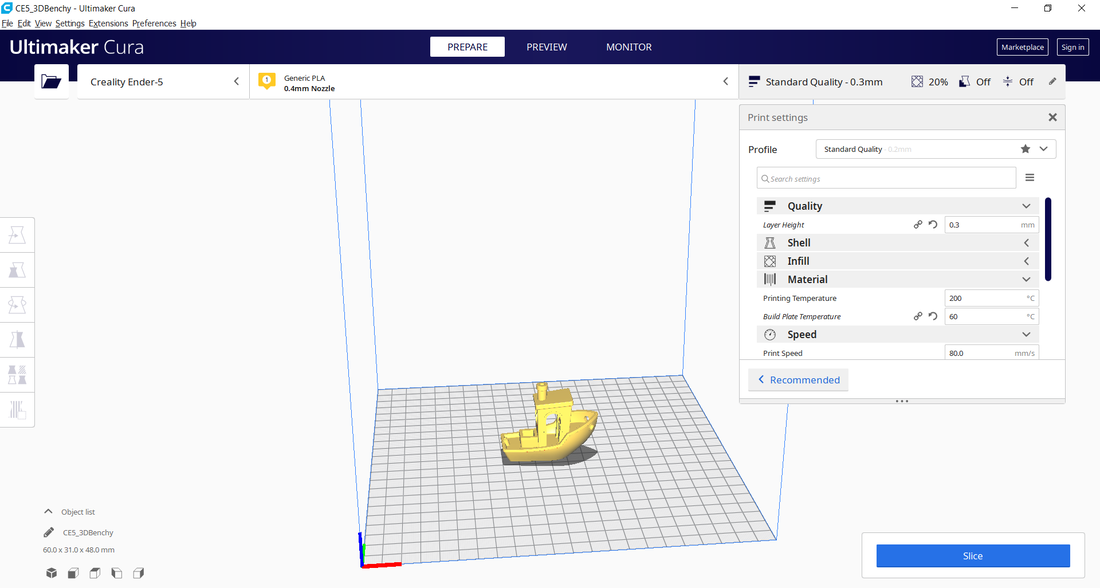
Above is what Cura looks like after I have imported the file. To import the file, there is an icon in the top left corner. Click it and navigate to the file you have downloaded and open it. On the right hand side, there are some settings for your printer. Every printer works optimally with different settings, and so the ones I have might be different than the ones you would have. Usually the default setting work alright for a first print. Once you're ready with all your settings, hit slice in the bottom right corner. Then it will ask you to save it to your removable drive. Hit yes, and it will bring up this prompt below:

It is important to eject the USB stick to prevent your files from being corrupted. It is also important to remember the name it saves your file as so that you can locate it when it's on your printer.
Next step is to plug the SD card back into the printer, then turn on the printer. On my printer the power switch is on the bottom left. Once you turn it on you are greeted with this menu:
Next step is to plug the SD card back into the printer, then turn on the printer. On my printer the power switch is on the bottom left. Once you turn it on you are greeted with this menu:

Under the screen is a little scroll wheel/button. This is a very common method for navigating menus on 3D printers. You click it to select, scroll to the right to move down and the left to move up. Click it, and this menu will pull up:

From here you want to scroll down to "Prepare" and select it.

Then you'll scroll down to "Preheat PLA" and select. It should now send you back to the main screen, and you should see an indication that it is heating up.
Next you click again, and then scroll down to "Print from TF".
Next you click again, and then scroll down to "Print from TF".

Once you enter this menu, you should see your file at the top, unless you have a previously saved version with the same name. In that case you will have to scroll down to find the file.

Select the file, and the print should begin once it is heated up! Unfortunately my print failed so I don't have any pictures of the finished product to show, but failure is a very prominent part of 3D printing. Don't be discouraged when it fails, because there is almost always a fix.
Overall, learning how to actually 3D print an object is quite easy! I hope this instructional piece was detailed and easy to understand! Thank you, and happy printing!
Overall, learning how to actually 3D print an object is quite easy! I hope this instructional piece was detailed and easy to understand! Thank you, and happy printing!
